GRANDMOM

There are two things I remember Grandmom saying that must have deeply imprinted my ideas about hair color.
Grandmom unfavorably viewed those blond TV personalities whose “roots were showing.”
And, in her 90’s, Grandmom still crowed, “I have never seen a gray hair on my head, and never will!”
YOUR BASE COLOR
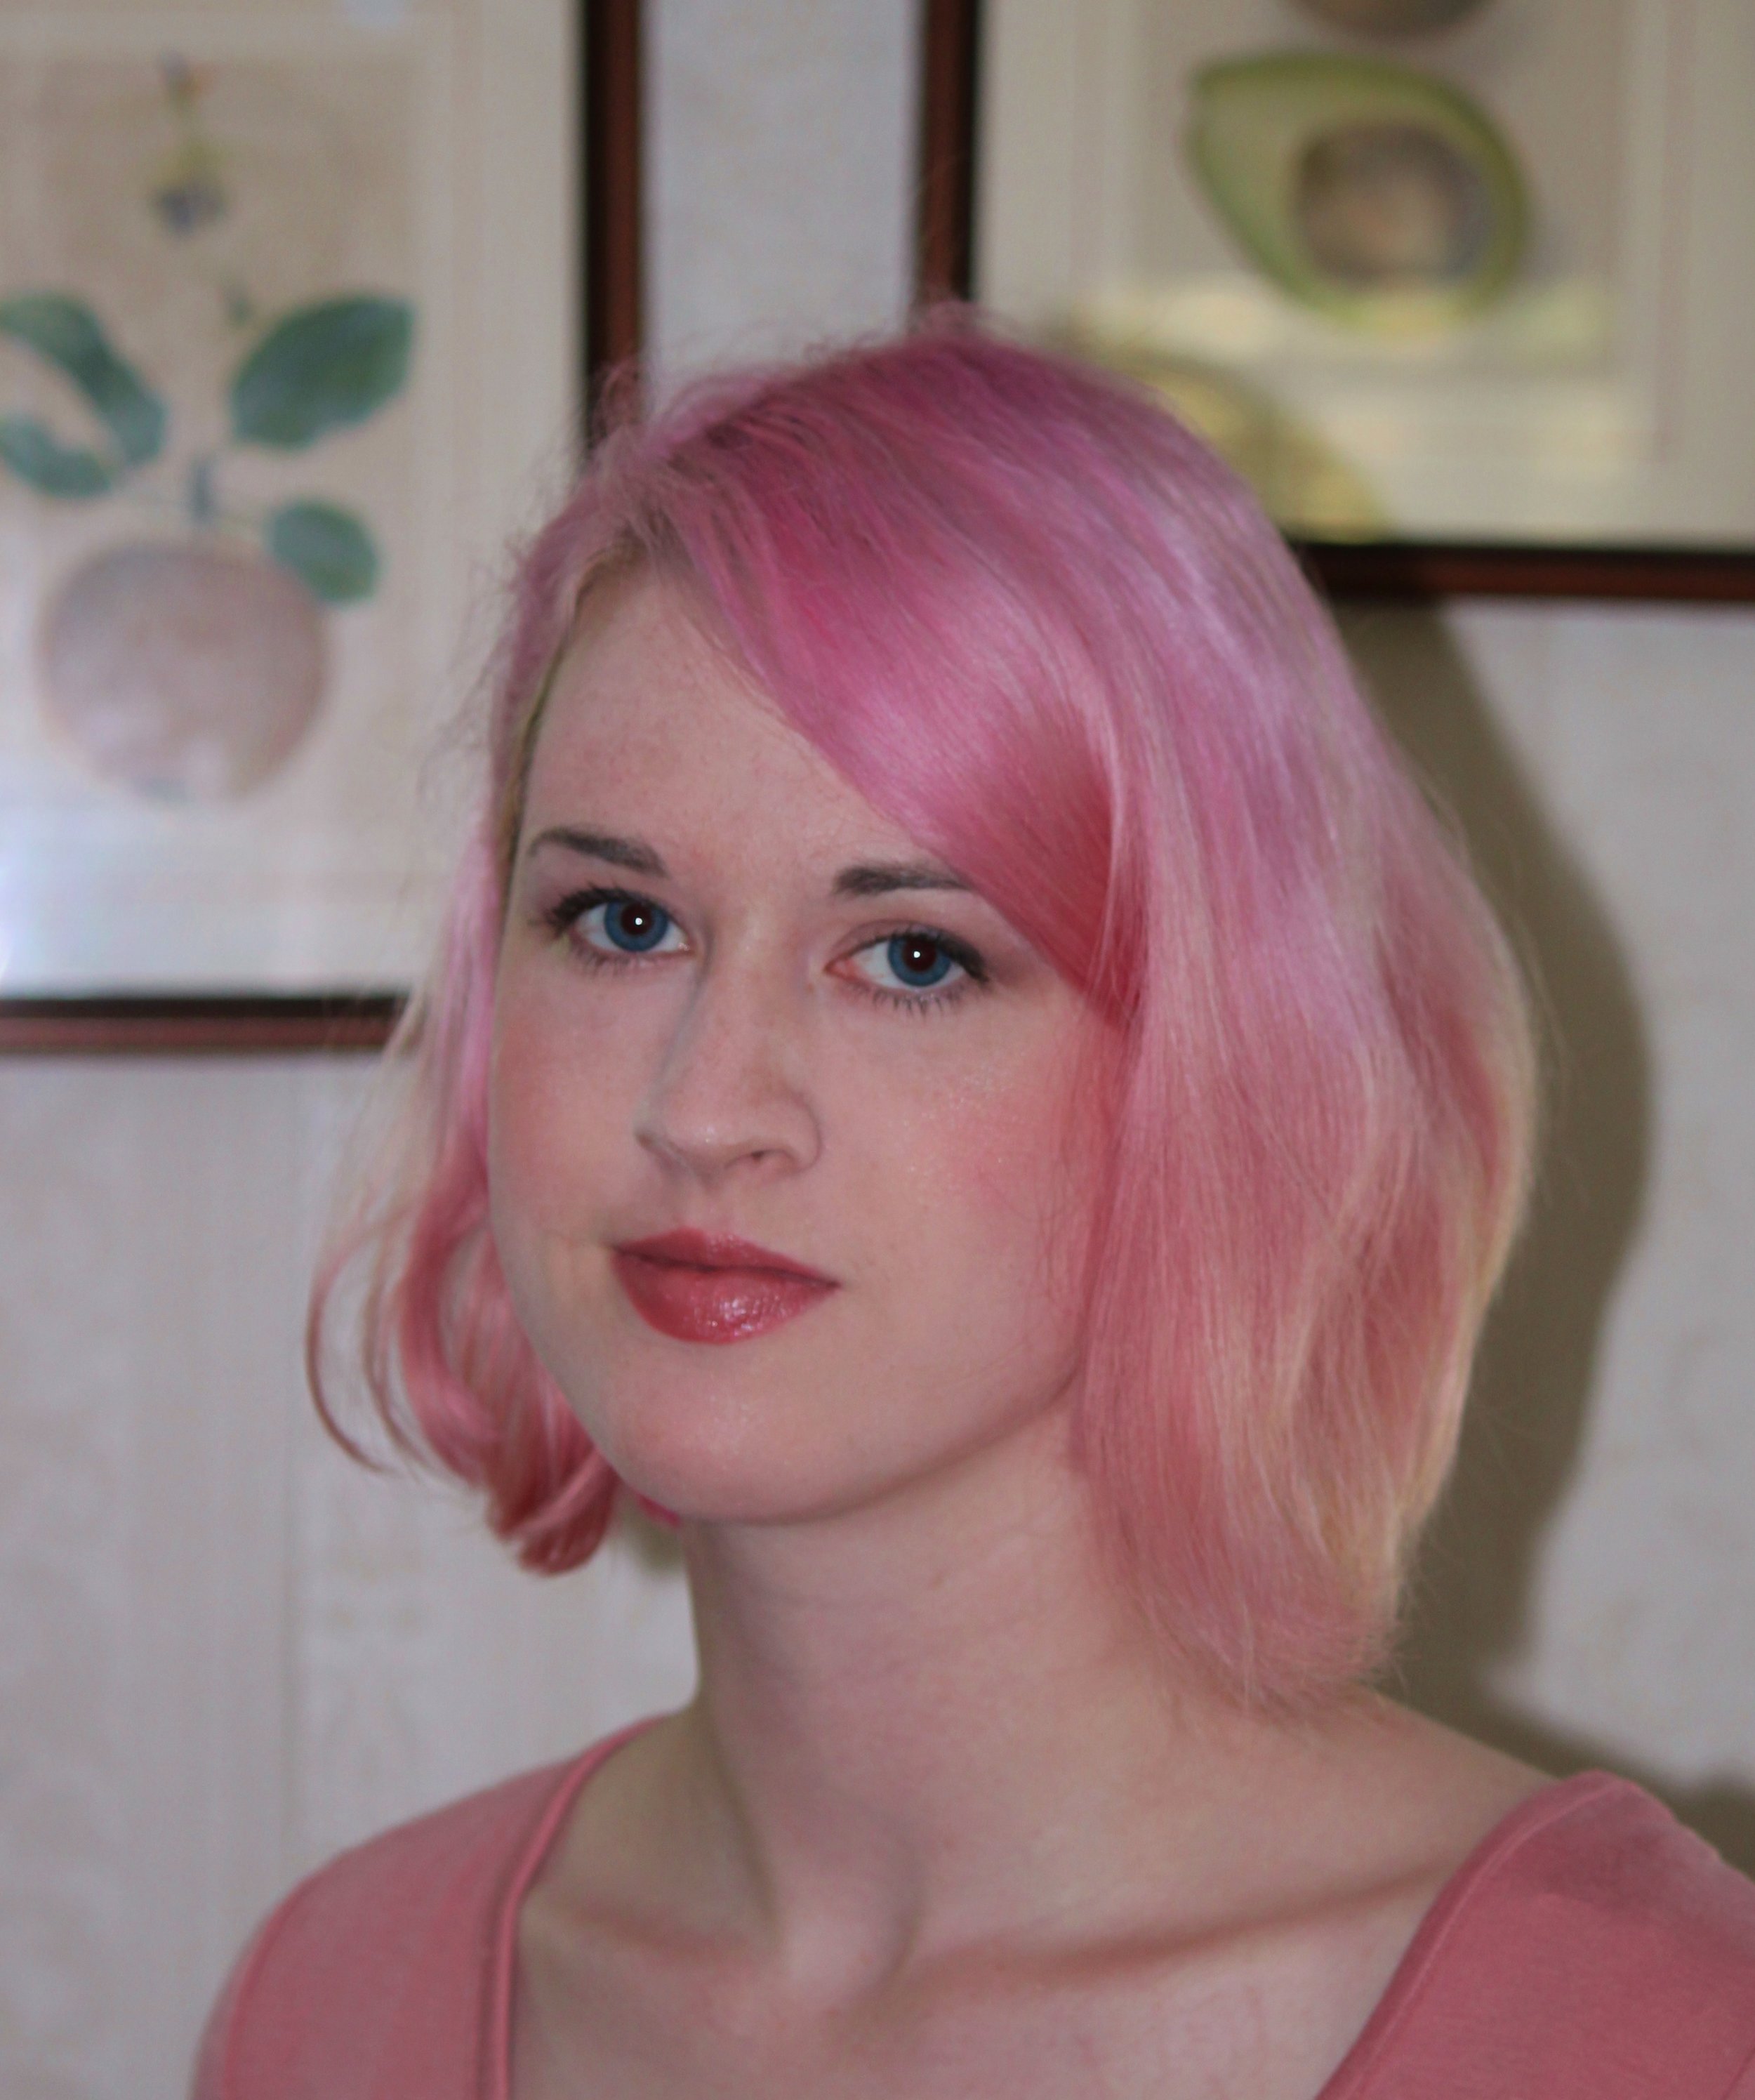
You have had your Personal Color Analysis and you are ready to harmonize your hair color with your new palette.
You have heard from your analyst that your natural color is best ….. but you are skeptical!
Perhaps you think your own color is too dull.
Or, maybe you are not ready to have gray hair!
I fall into the second category and have been coloring my own hair for 20 years.
There a number of problems with hair dye, and with doing it yourself, that you can avoid. First, it is a good idea to follow your color analyst’s advice: your natural color is the most harmonious base.
THE SECRETS TO GOOD DO-IT-YOURSELF HAIRCOLOR ARE:
Color you hair often enough to eliminate the root problem (Grandmom whispering in my ear here!)
Avoid the monotone shade that comes from repeatedly using the same color.
Do not follow the product instructions to “comb the color through.” This dries and damages your hair. It also creates an unnatural monochromatic color.
Experiment with an under-layer to arrive at a good hair color shade. Just as all lipsticks suggested for those of your seasonal tone are not appropriate for you, because of skin chemistry and personal nuances in coloring, hair color reacts differently depending on the texture and porosity of your hair.
Look at pictures of yourself at different ages to find a reference for an appropriate base color that will not underwhelm or overwhelm the skin texture you have now. Your hair color in your late teens is probably a good reference color.
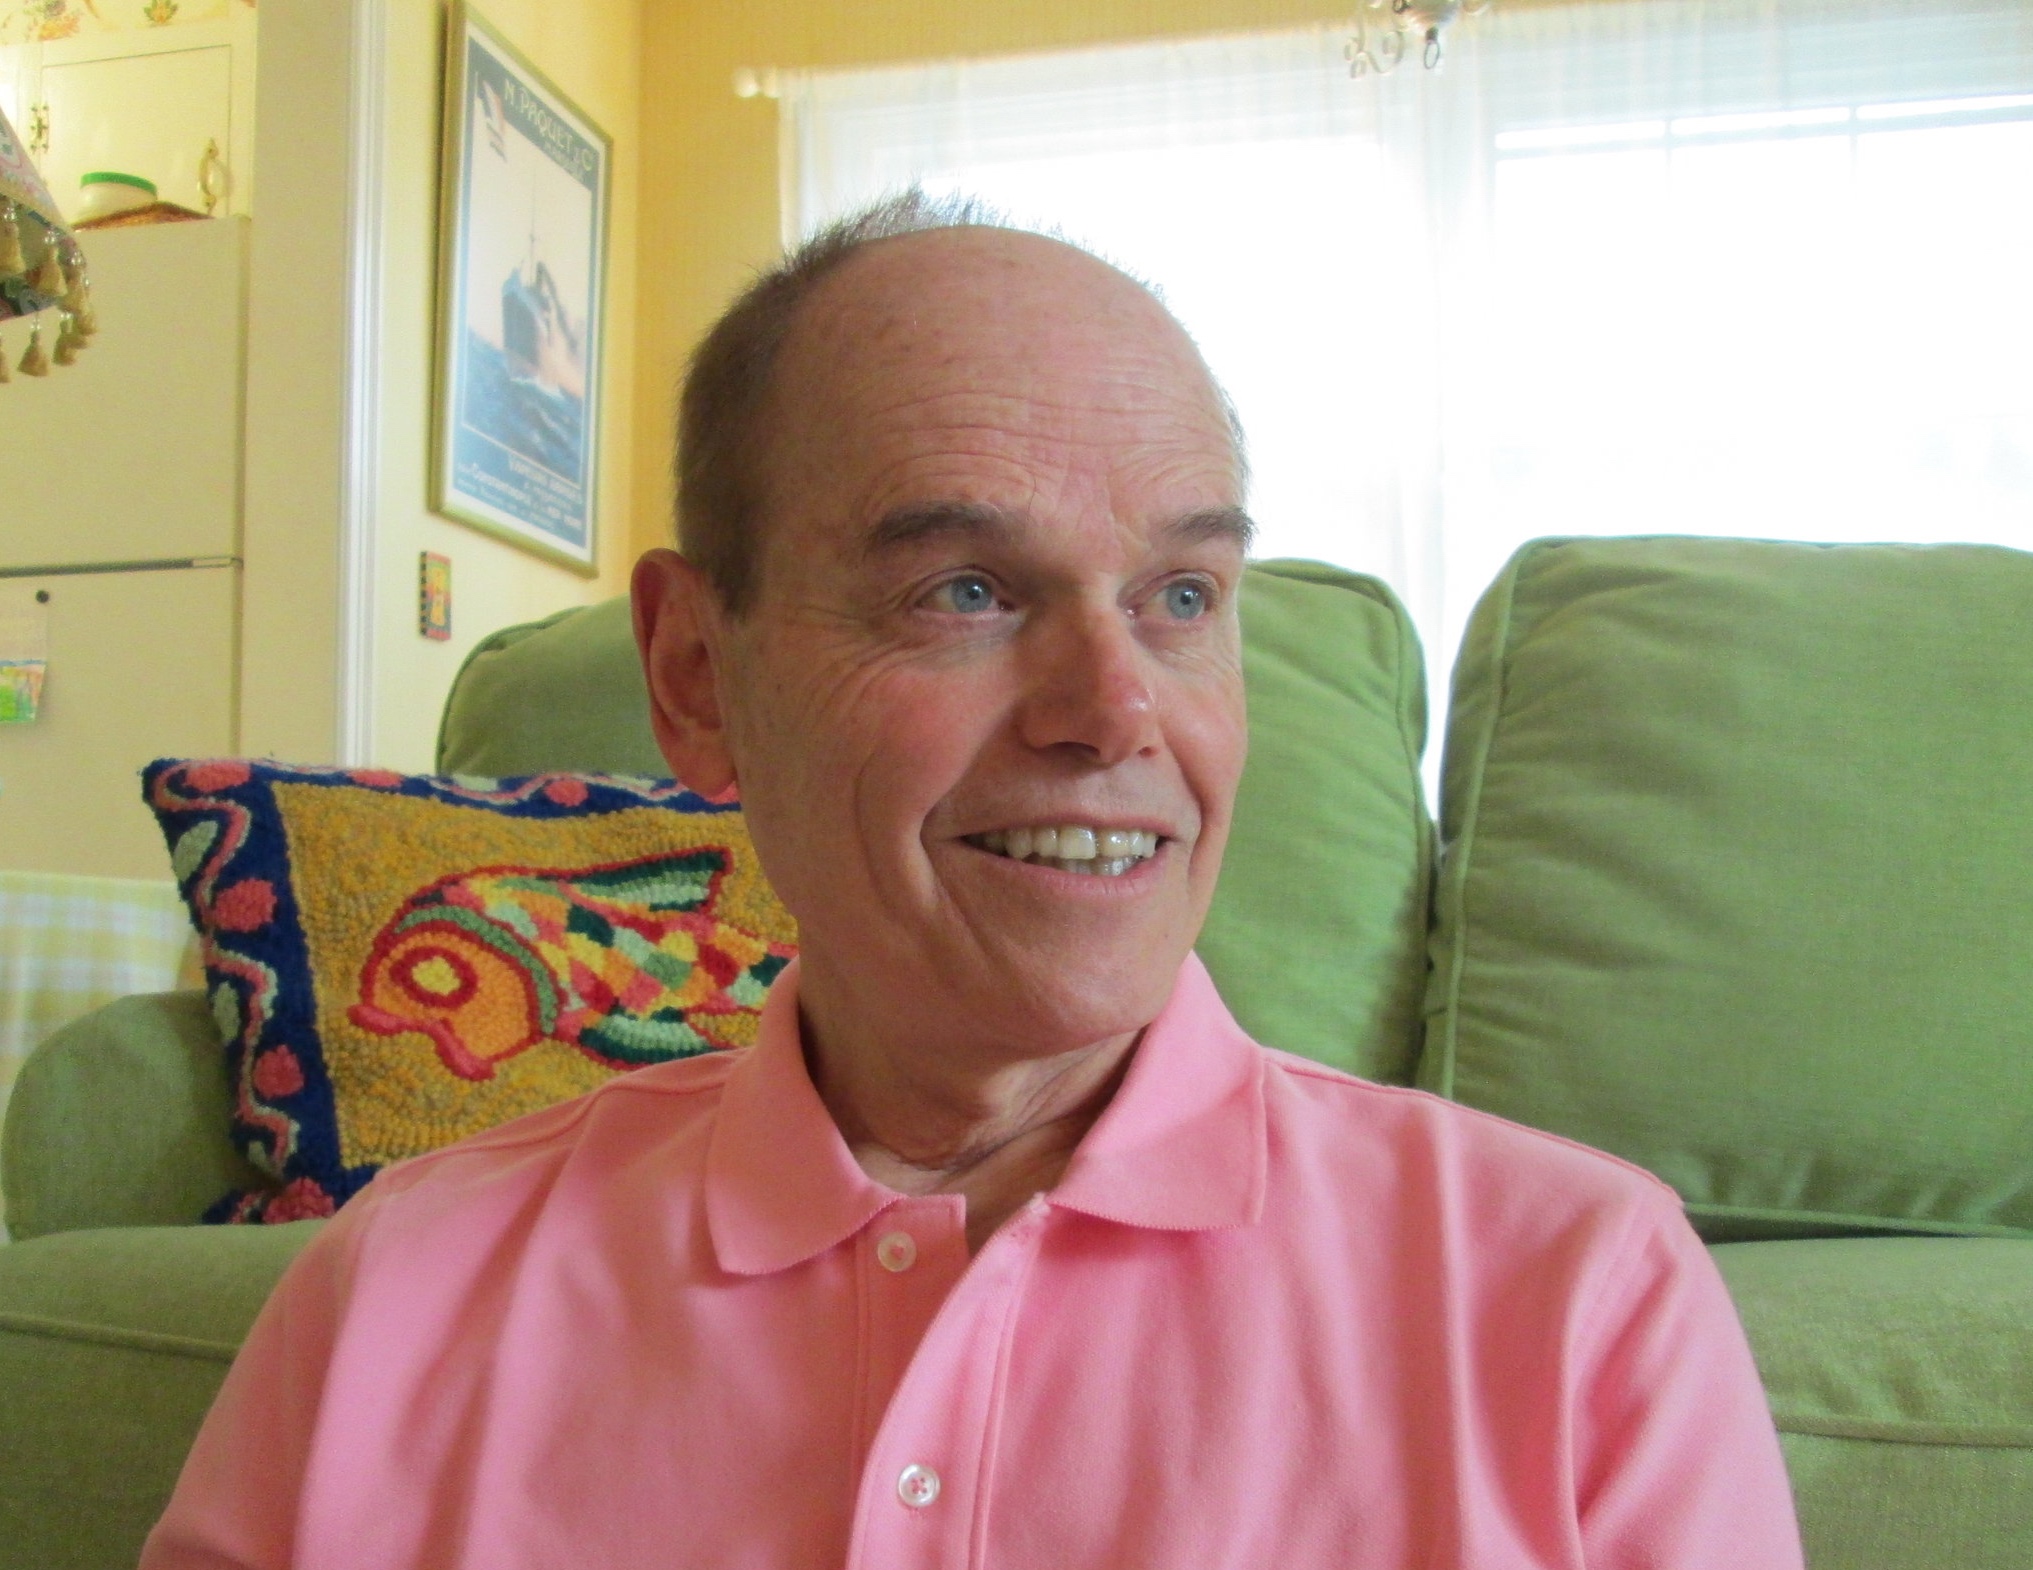
The length and texture of your hair makes a difference for the timing of “root jobs.” My hair is short with layers and needs a touch up every 14 -17 days. My husband’s hair is only ½ inch long, and he needs to touch up every 6 days, because the white shows through easily. If your hair is very dark, and the contrast between the hair color you use and the actual color of your hair is great, you will need to touch up more often. And although I use only 1/3 of the product per coloring, higher contrast roots may require ½ “recipe.” But, don’t despair! This is easy to do, will give a natural looking result and is still very economical.
MY HAIR COLOR
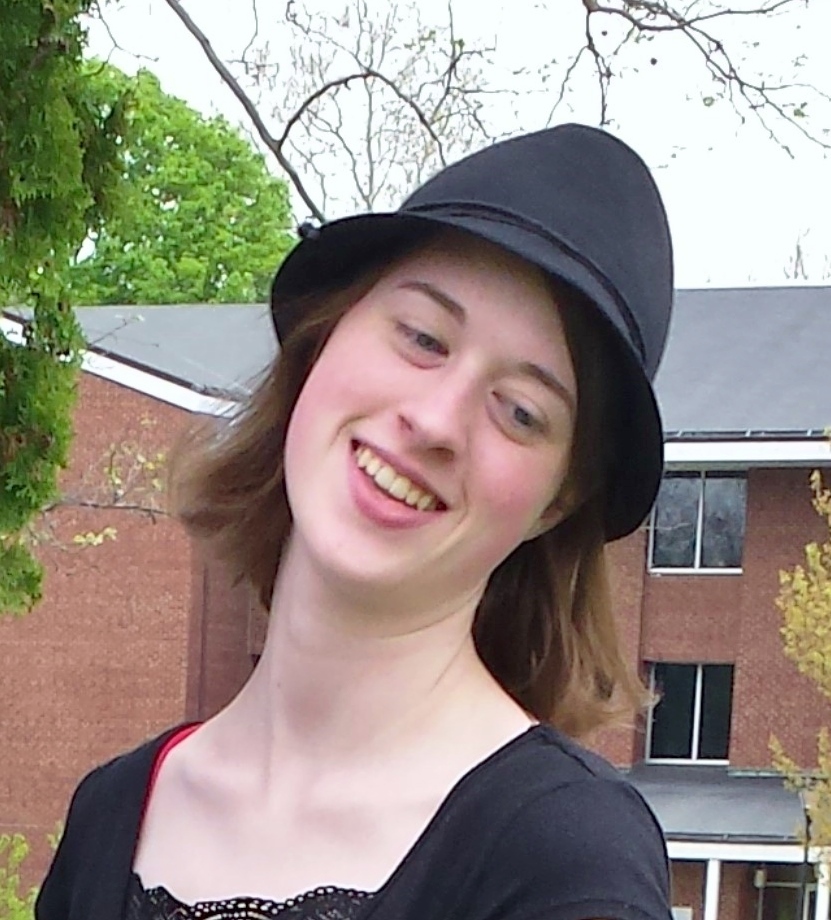
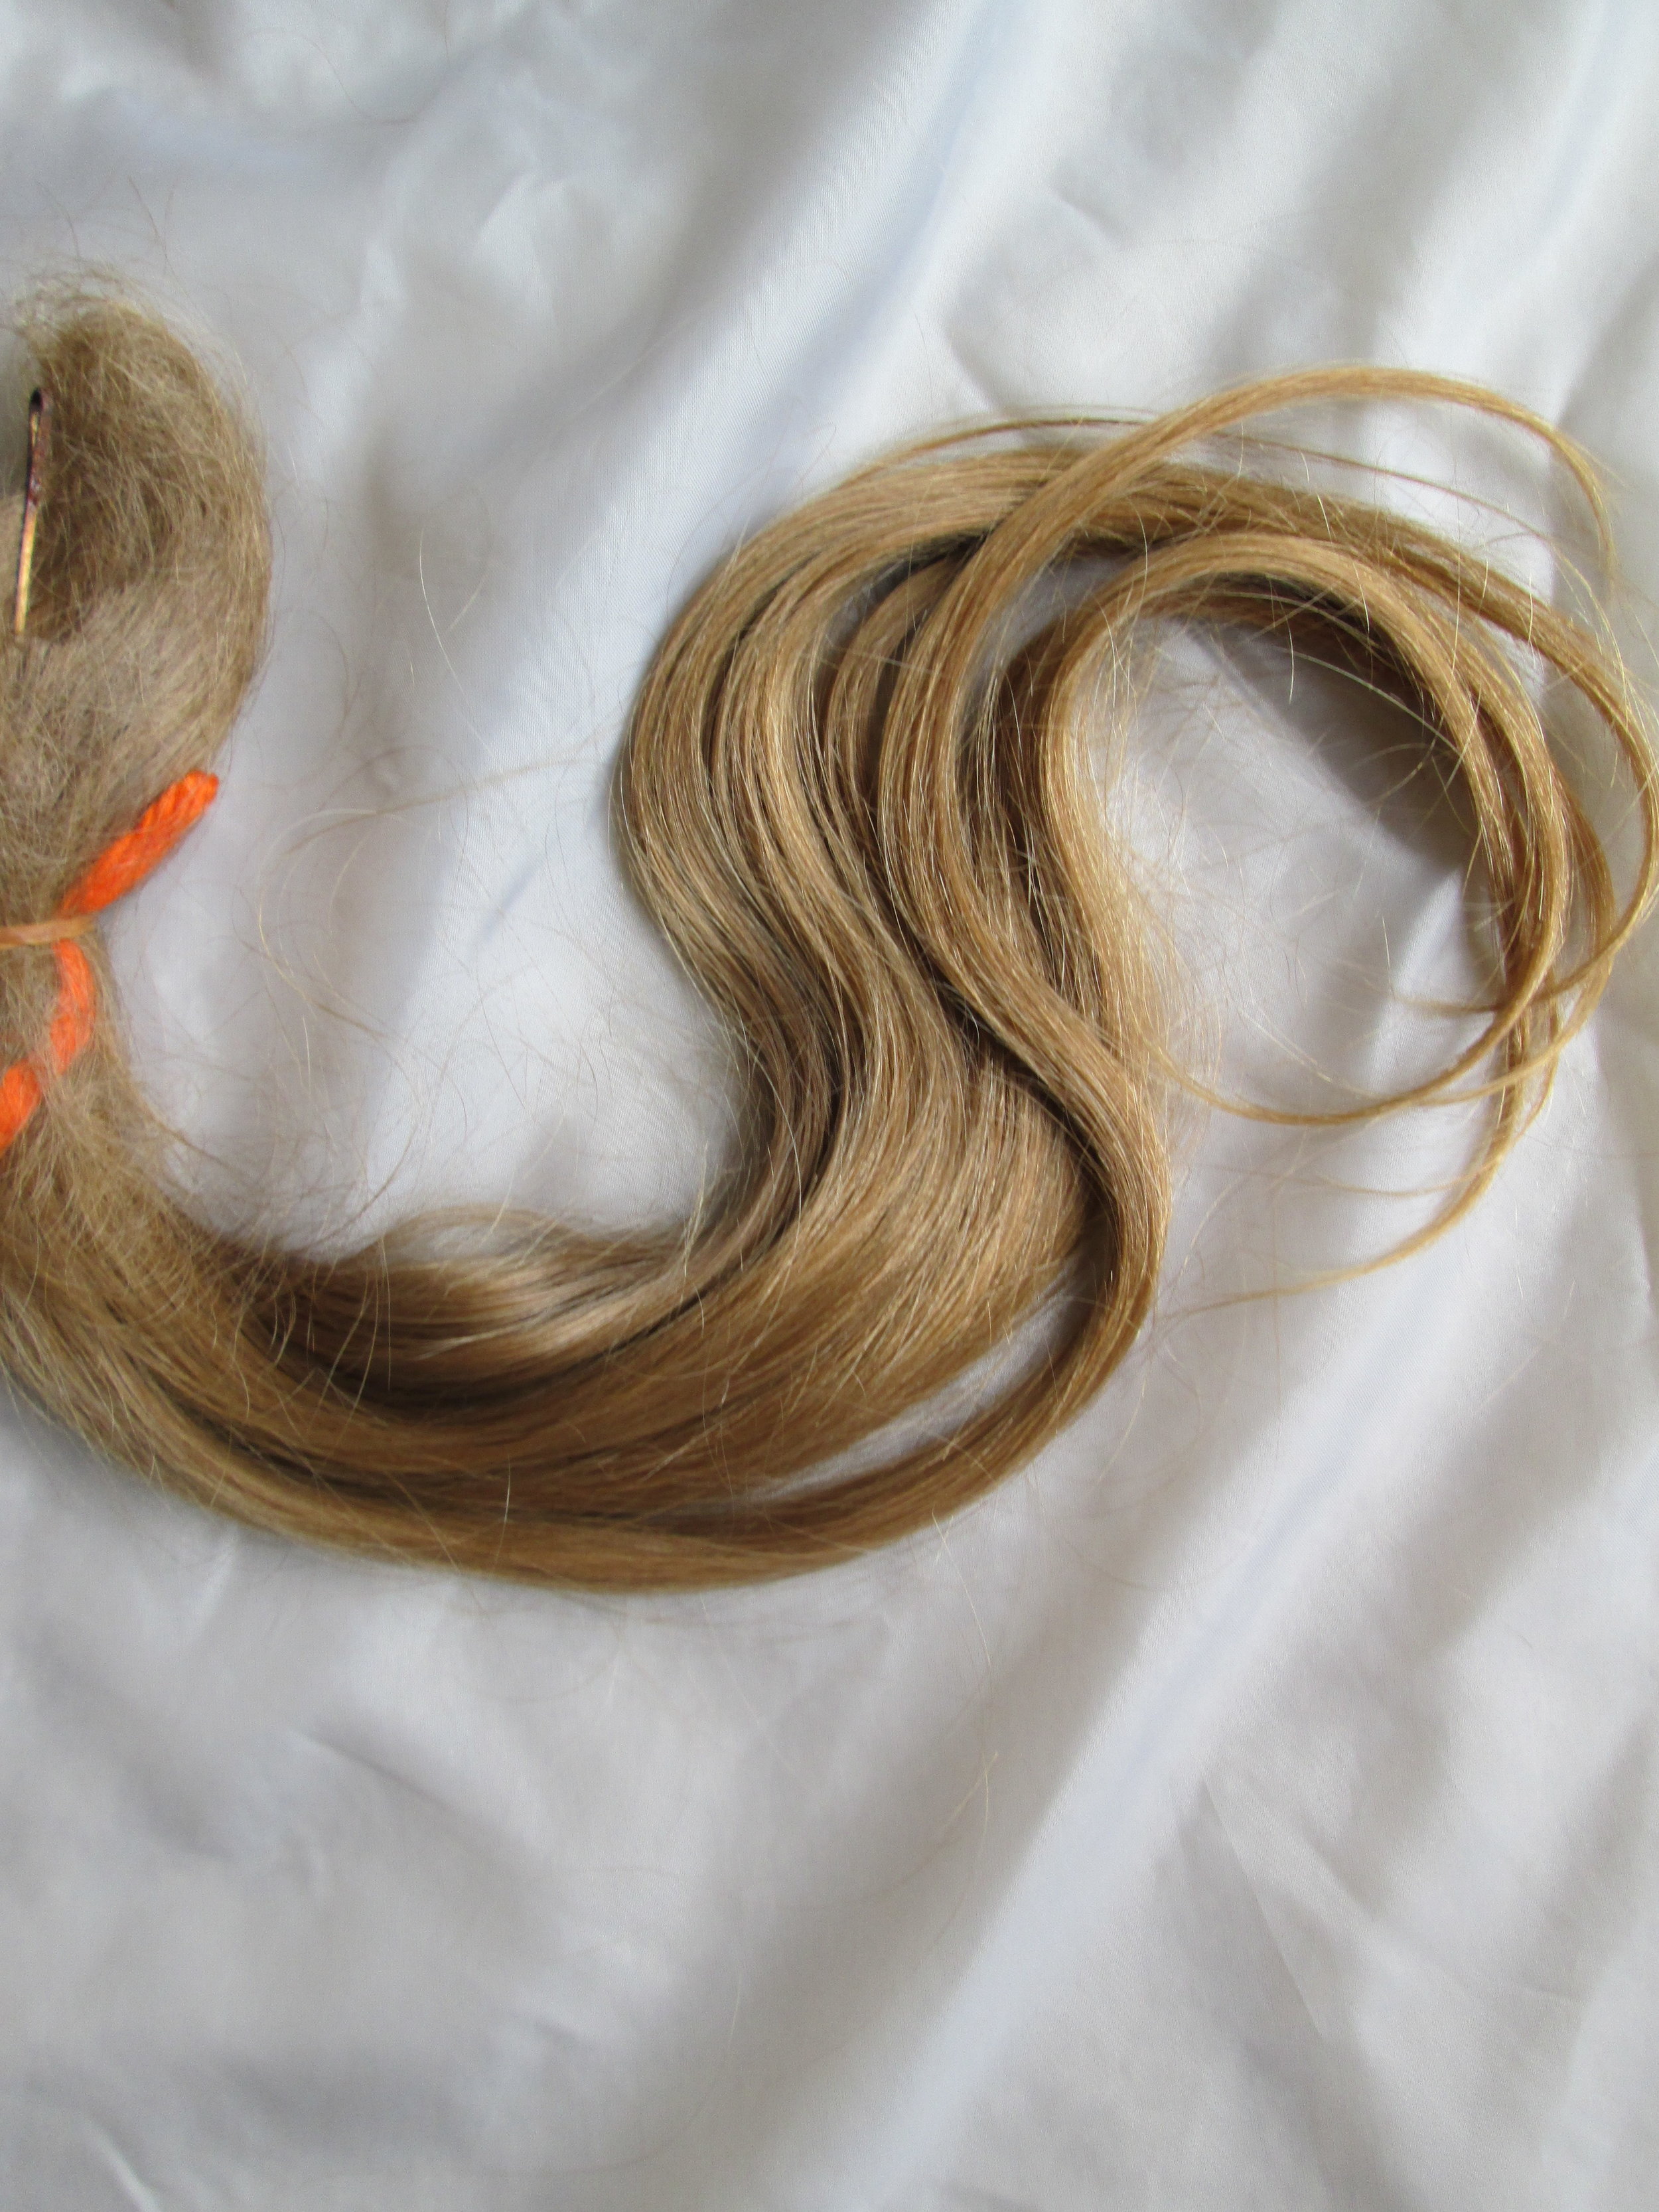
I happen to have a big ponytail of hair that I’ve been saving since 7th grade, and it is my reference for my hair-color harmony. In my 40’s my hair color was as dark as it would get. Now, at my age, that color would overpower my face.
7th grade ponytail and color, at 40
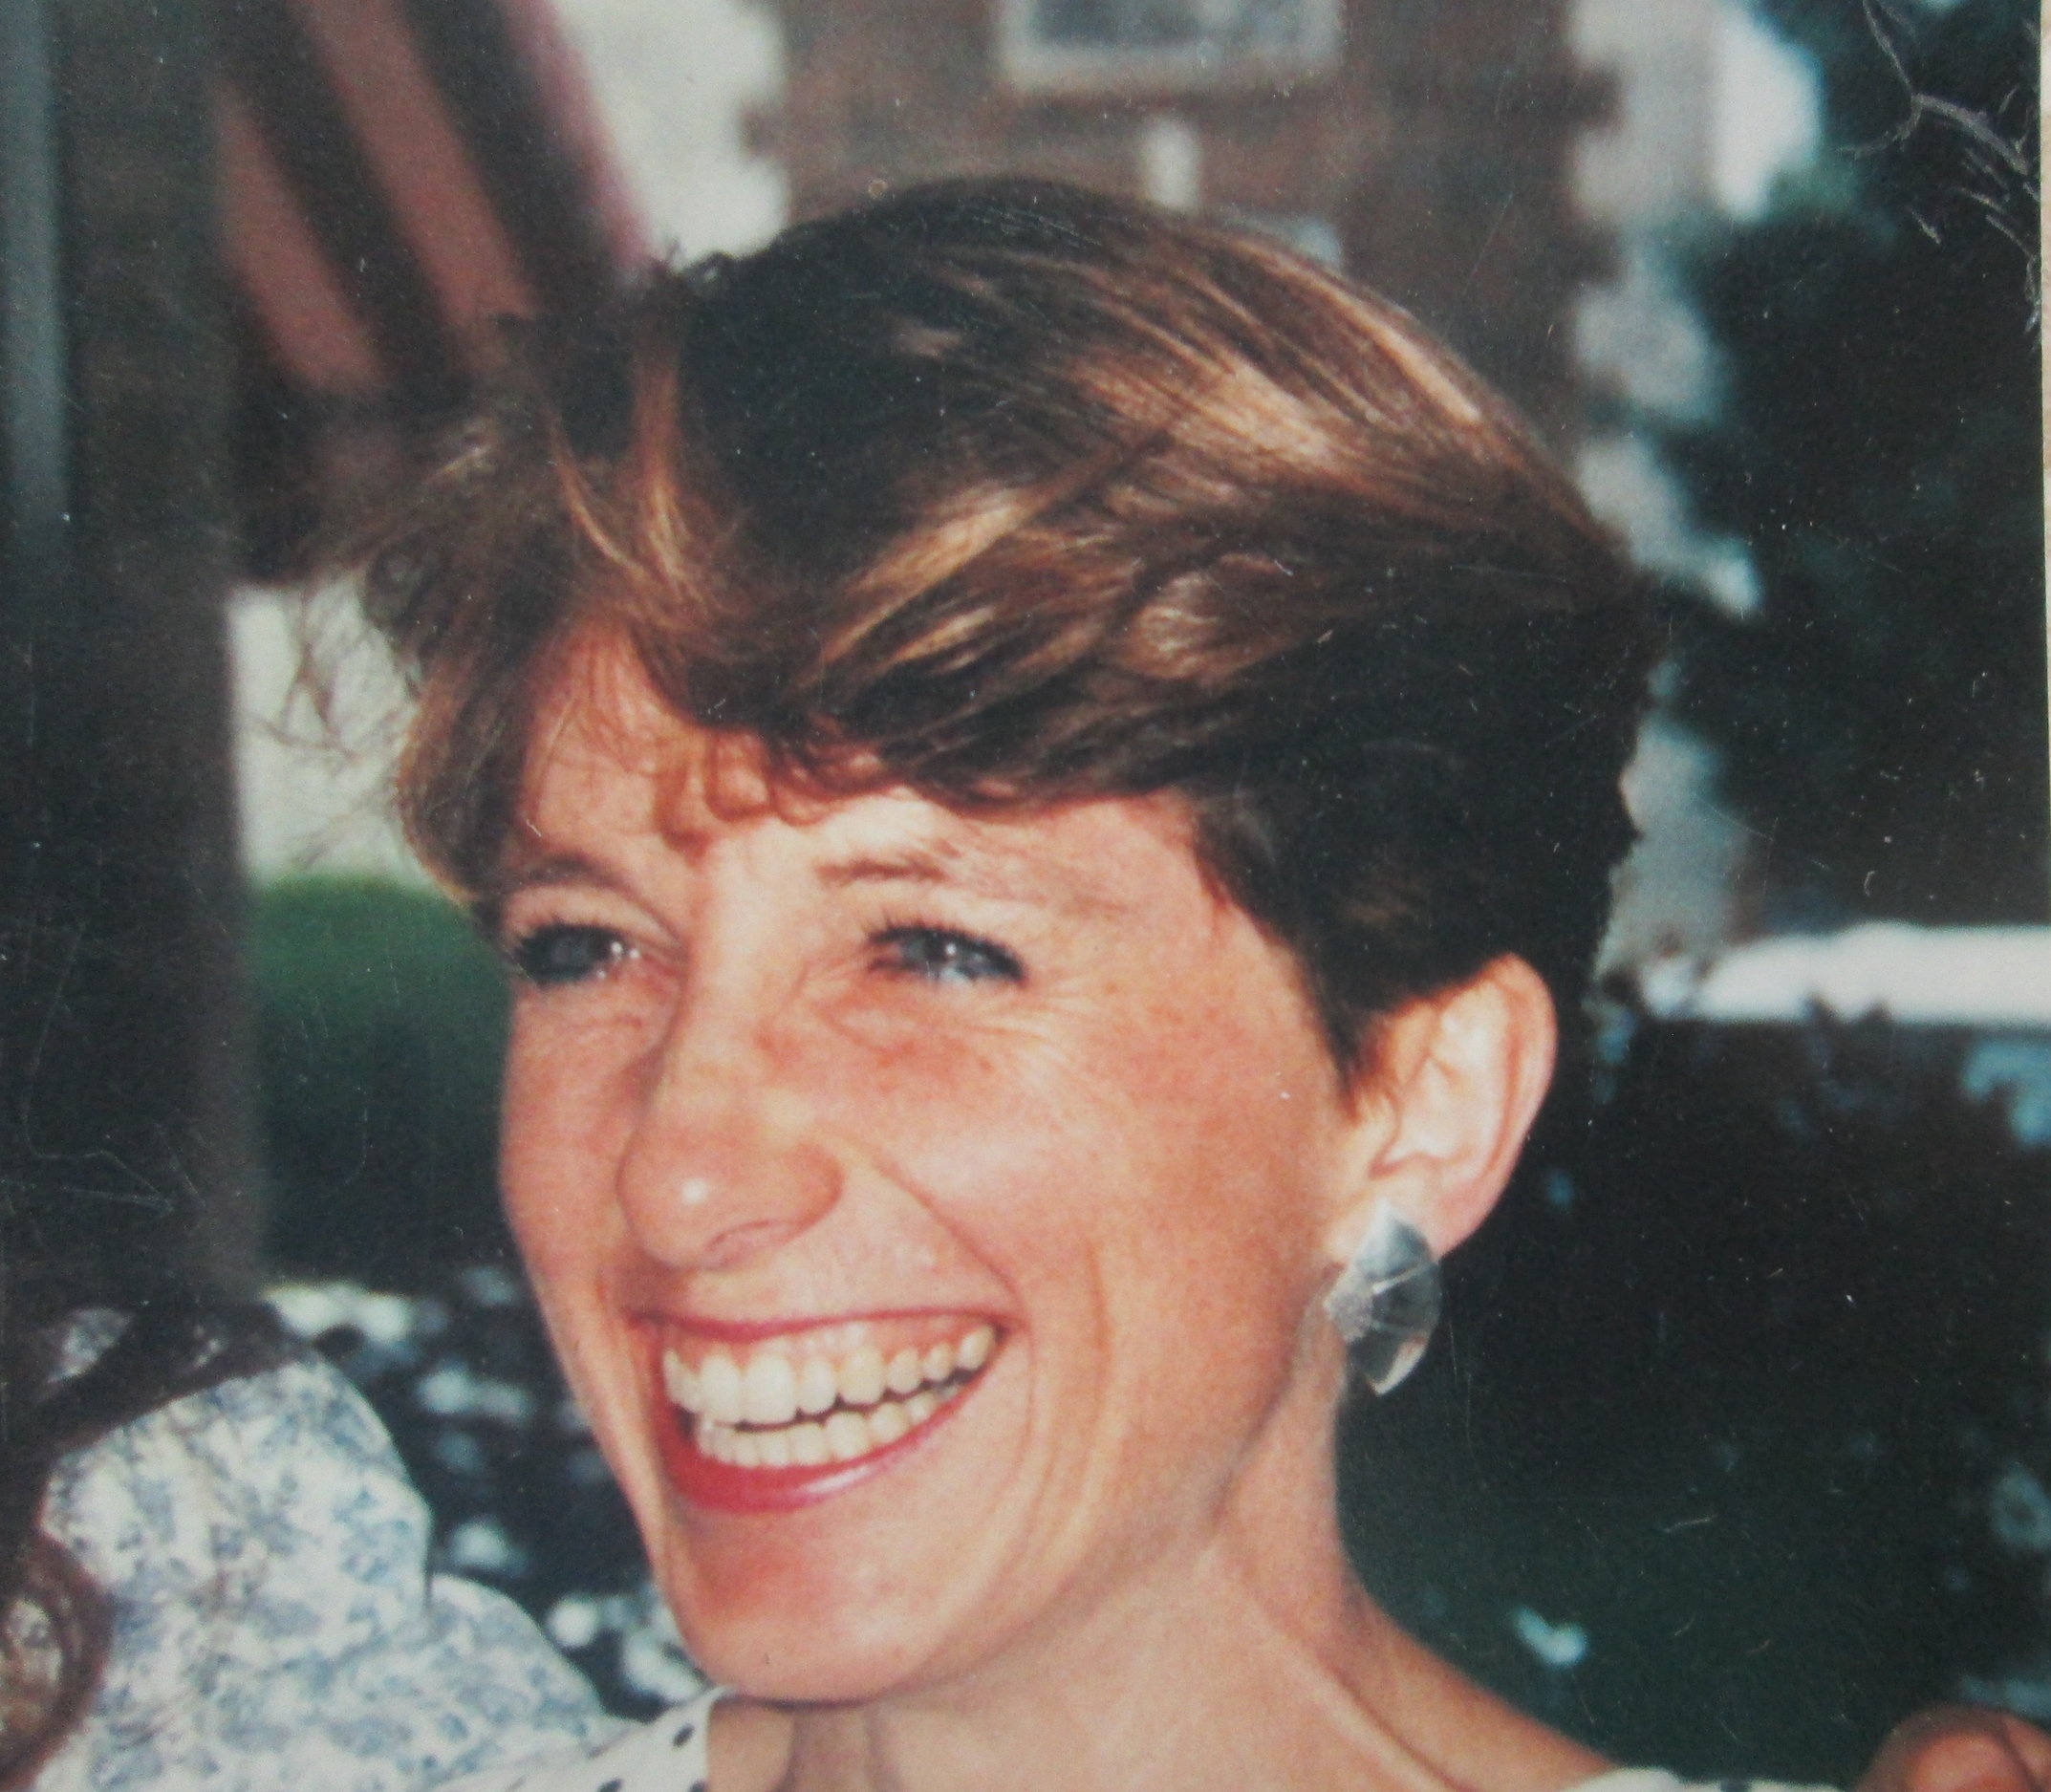
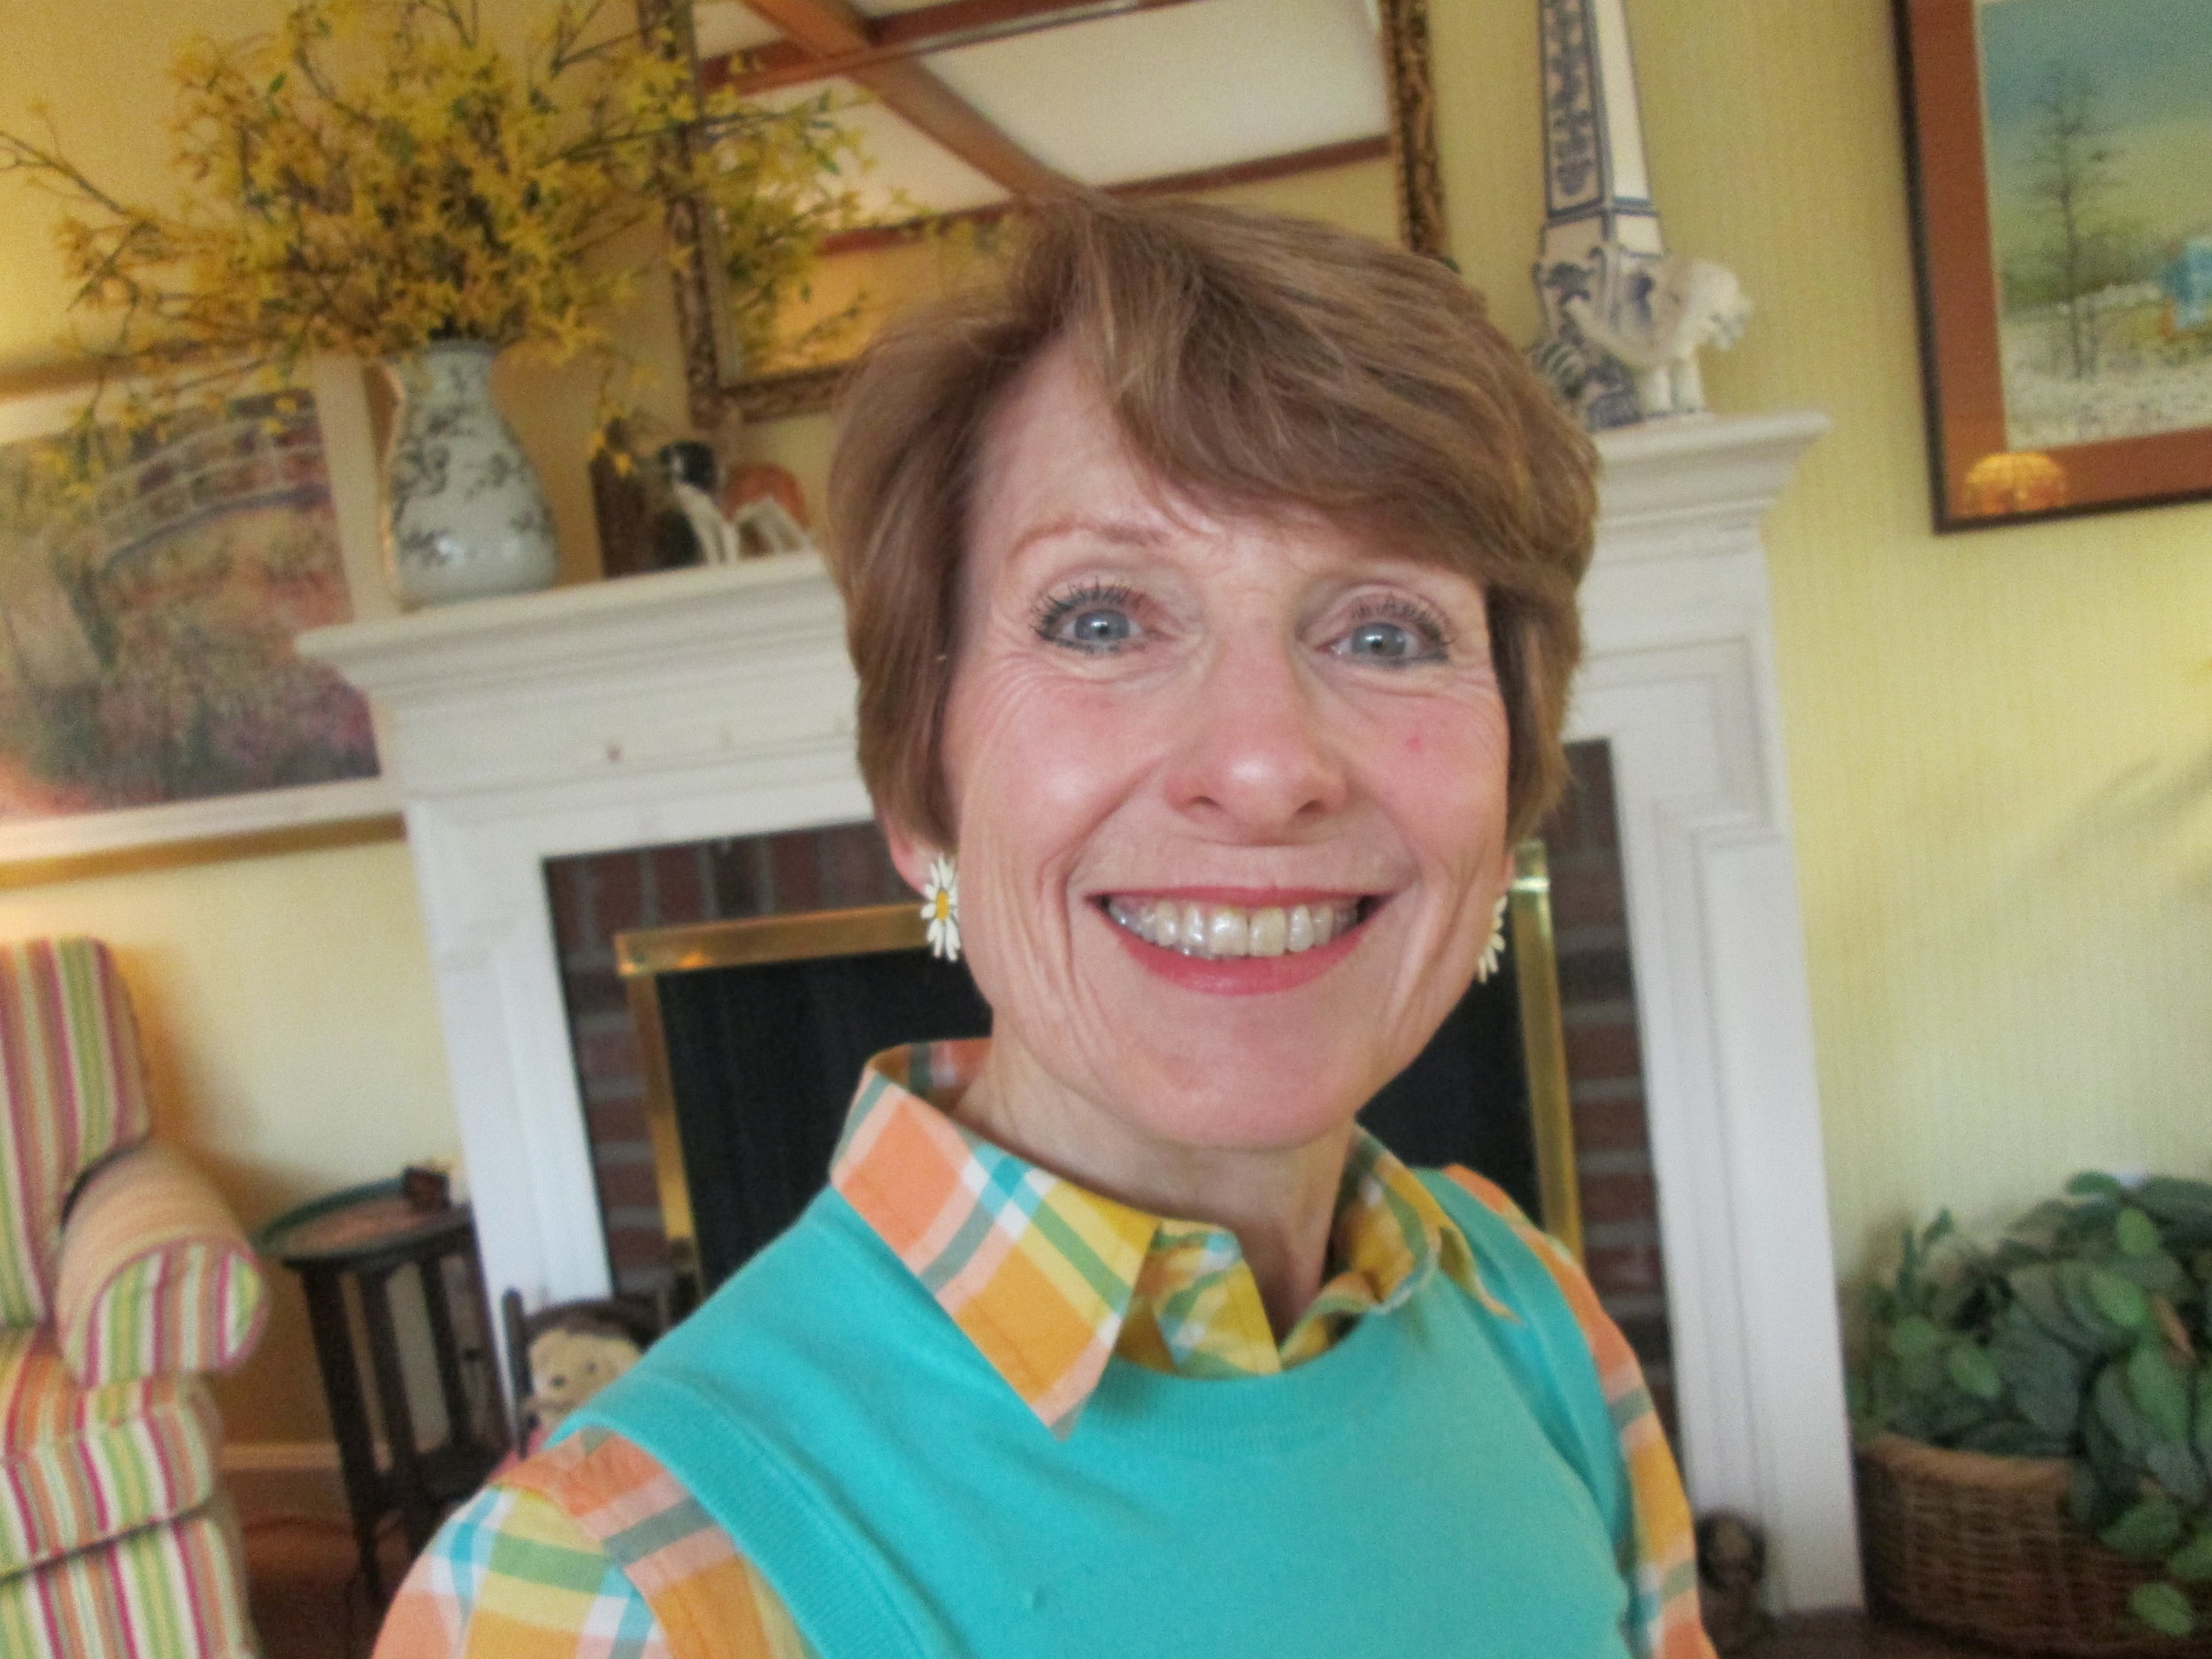
At my analyst’s recommendation, I chose a color with beige undertones. It is not as dark as I once was, but not a light blonde shade either, which overpowers the peachiness of my Light Spring skin color and minimizes my turquoise/gold eyes. These effects distract from the natural harmony that exists between my native hair color, eyes, make-up choices and clothing.
I only color the roots, and color them every 2 - 2 1/2 weeks. I use only 1/3 of the container of product, mixing up a fresh batch (1/3 color, 1/3 developer) each time.
I do not color all of my roots. Usually I have two shades of color on hand, choosing a different one of them each time, depending on whether may hair seems a bit dark, or too blond.
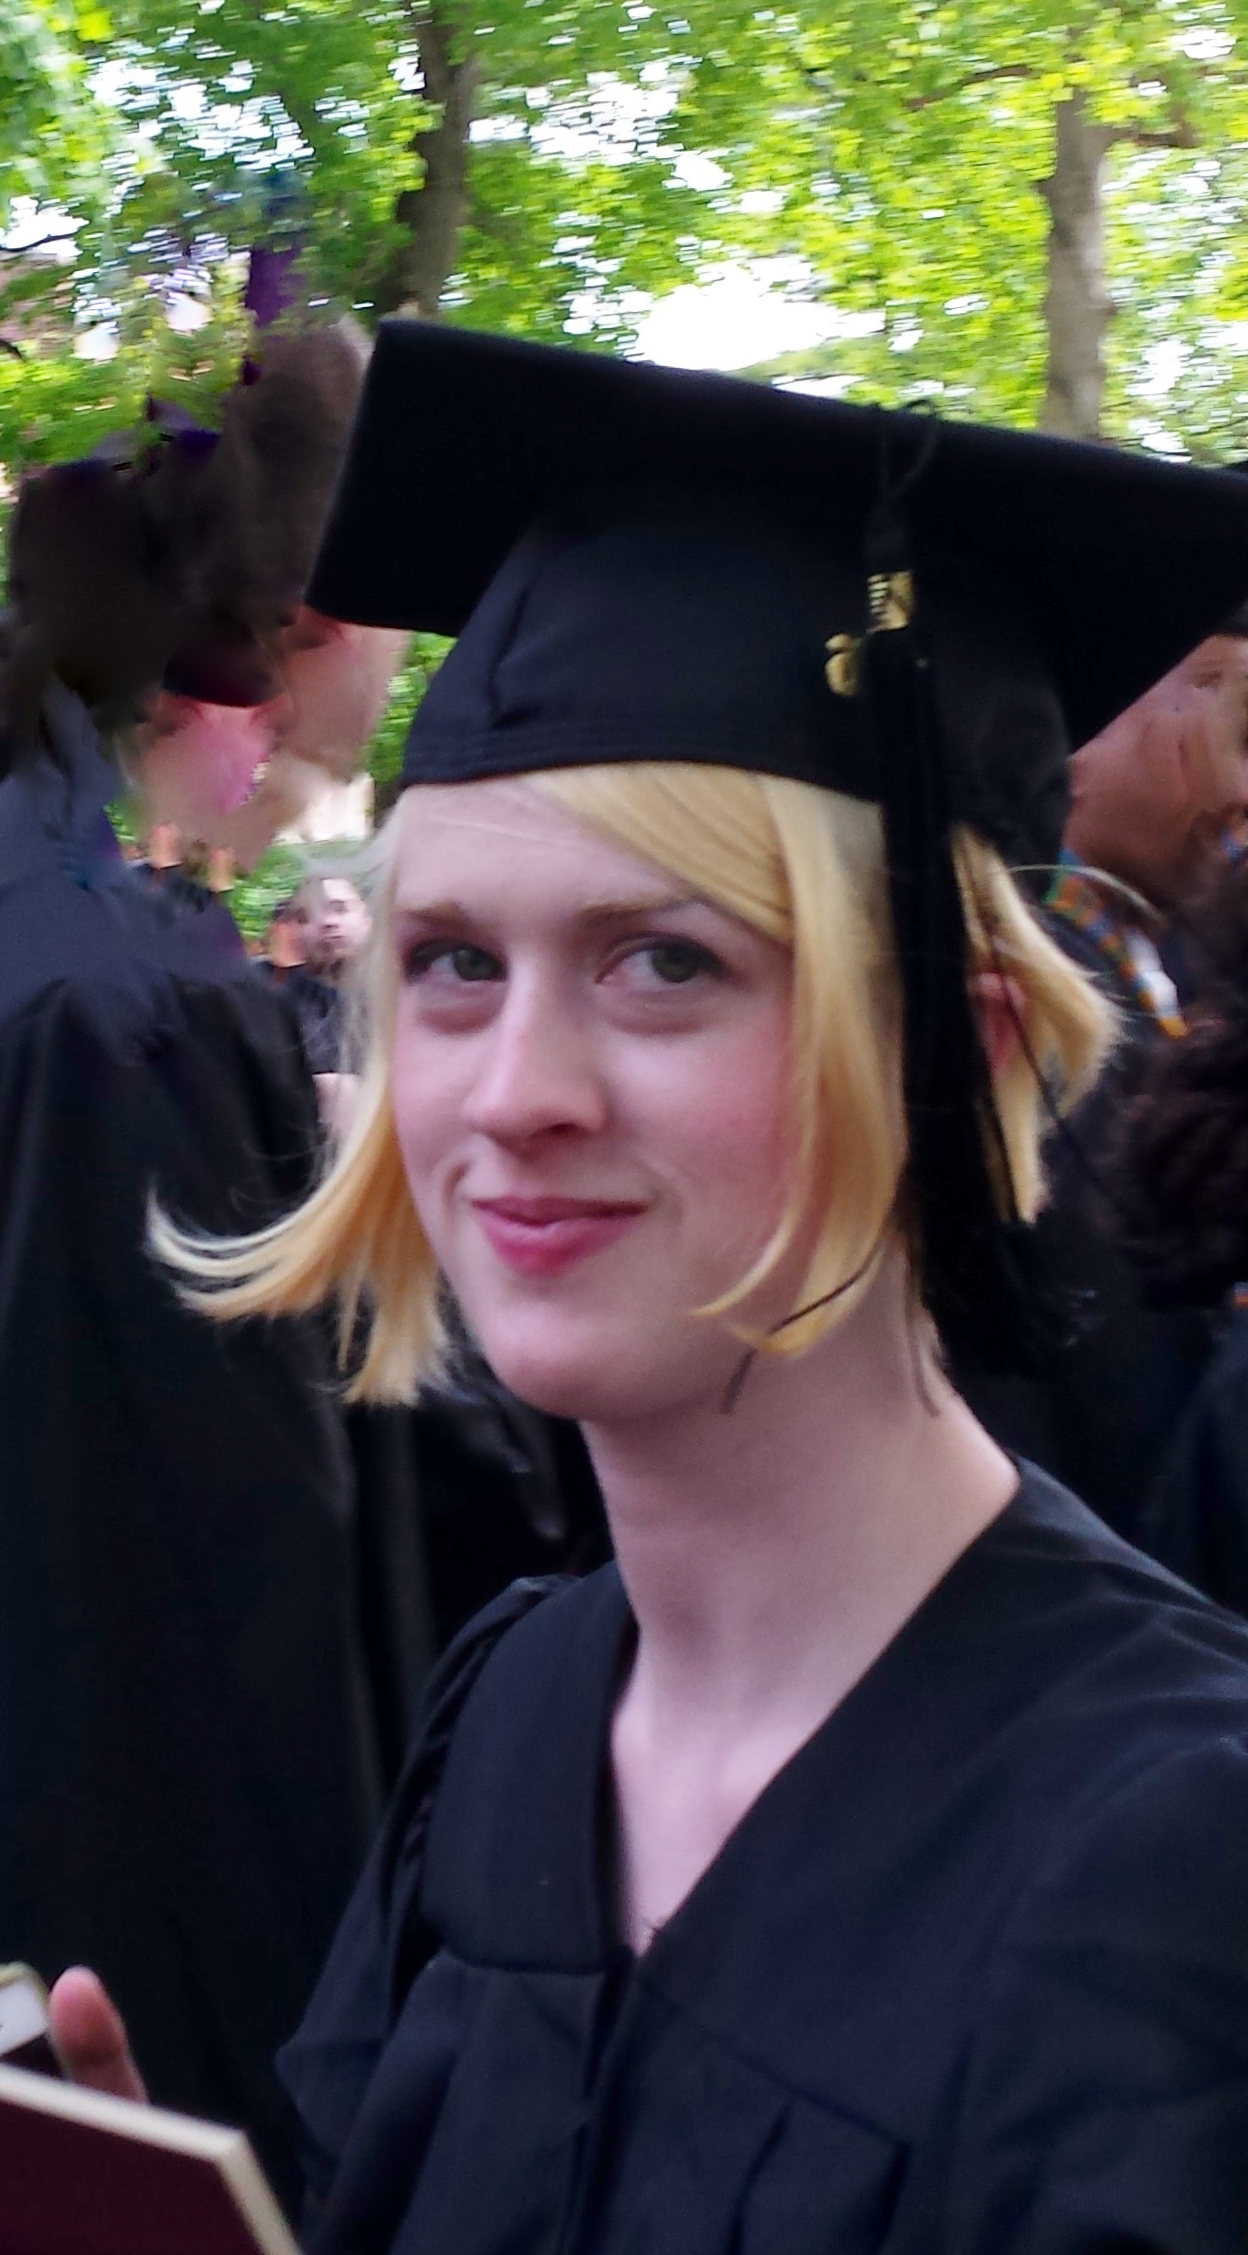
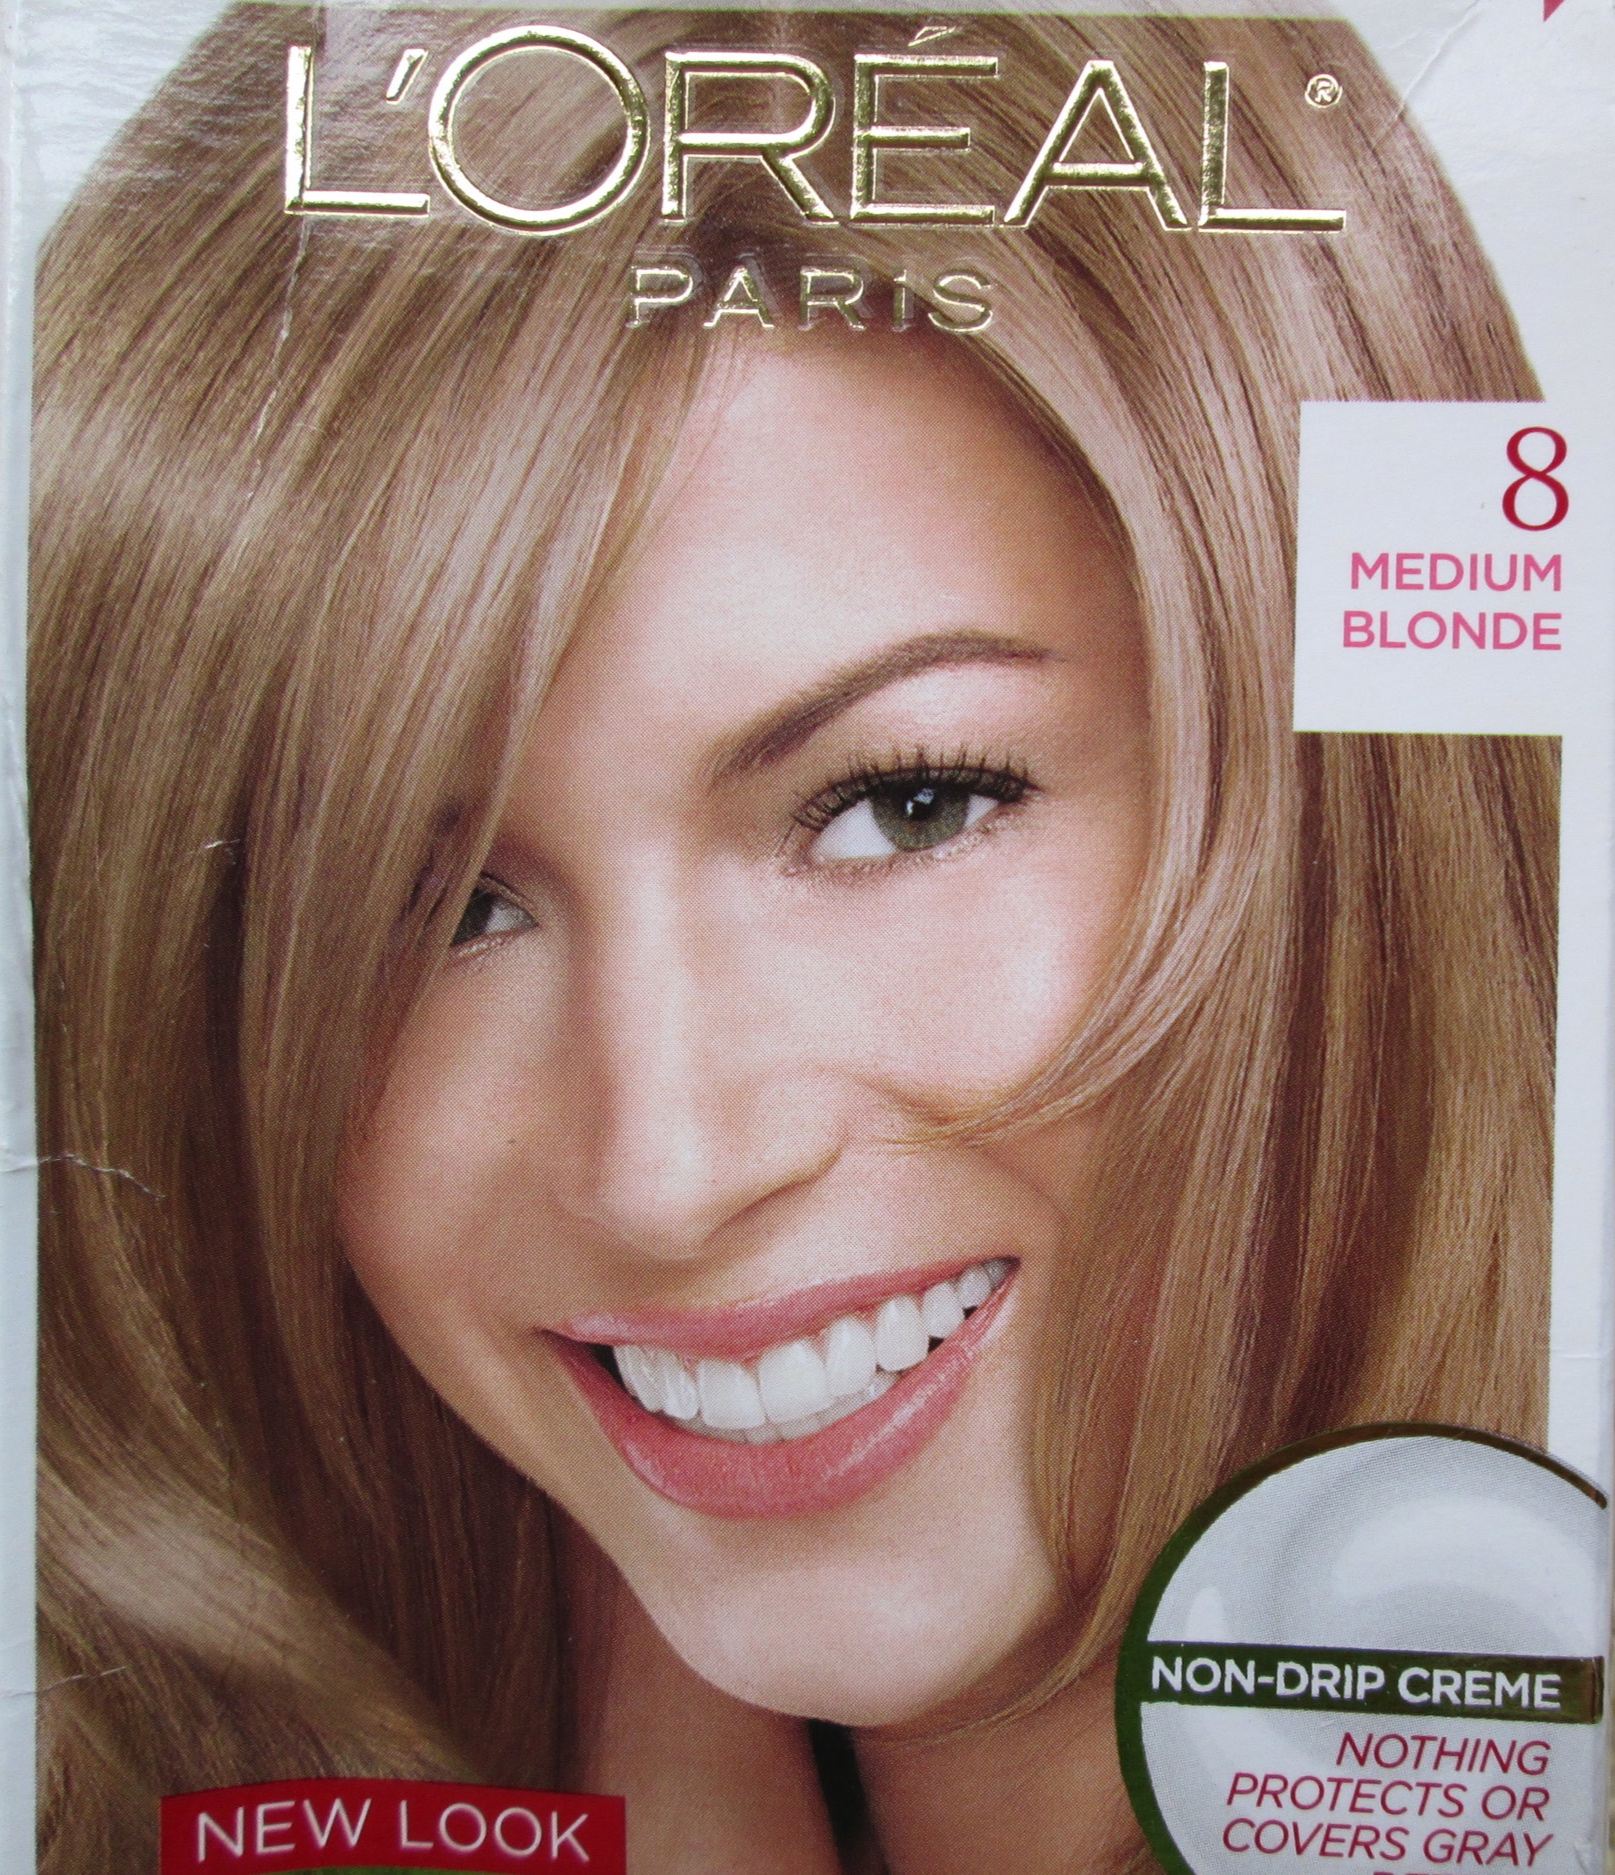
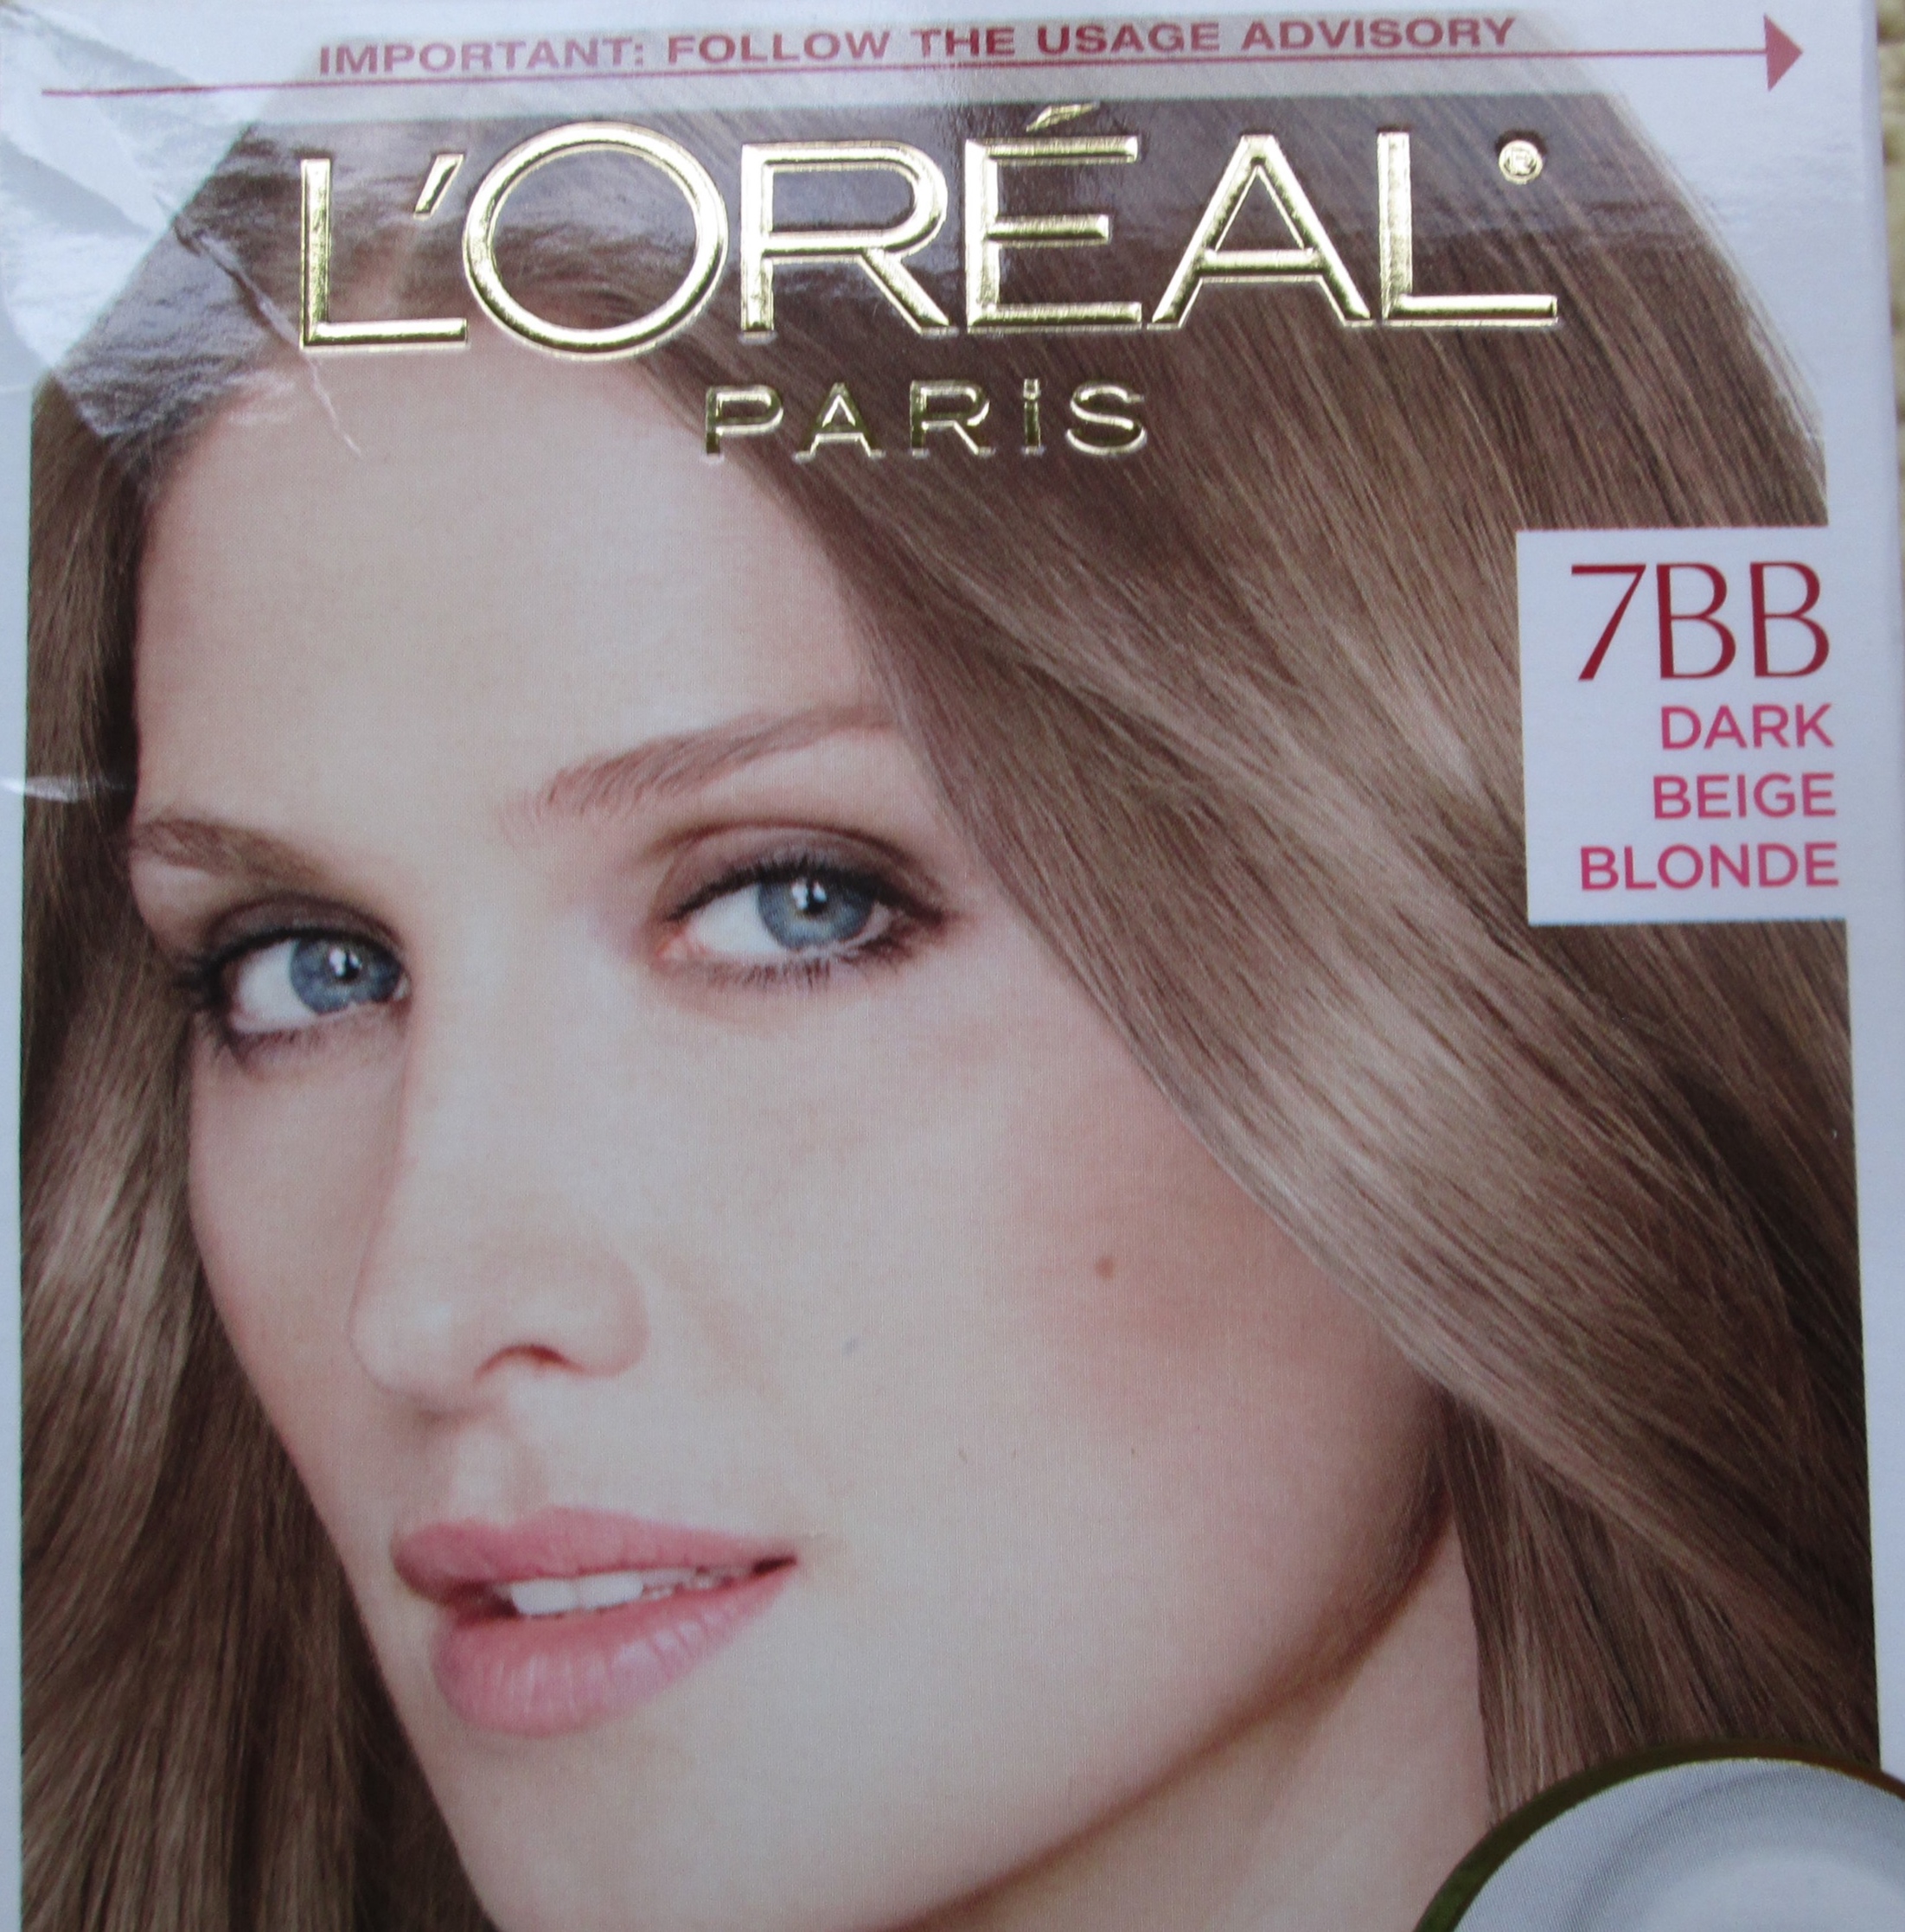
My favorite colors that suit my age and skin texture (and, of course, my Light Spring coloring!), are L’Oreal Excellence 7BB, Beige Blonde and one in a lighter shade – L’Oreal Excellence 8 Medium Blonde. These colors are colors that were present in my 7th grade hair. Because hair color can turn reddish on me, I don’t need to add reds to my hair color mix, they show up even with Beige Blonde. Using the Medium Blonde shade often takes away some of those red highlights and my hair looks a bit dull and bleached. Experimenting with under-layers has taught me this.
8 MB, 7 BB and current color
People always ask whether my hair is blonde or red. It is really neither, just a lighter brown, with those shades mixed in.
This alternation of hair color also minimizes the appearance of roots. I only color the temples, forehead, bangs, some of the grayer areas, particularly where cowlicks frequently expose the roots, and the usual side part.
DOING THE JOB!
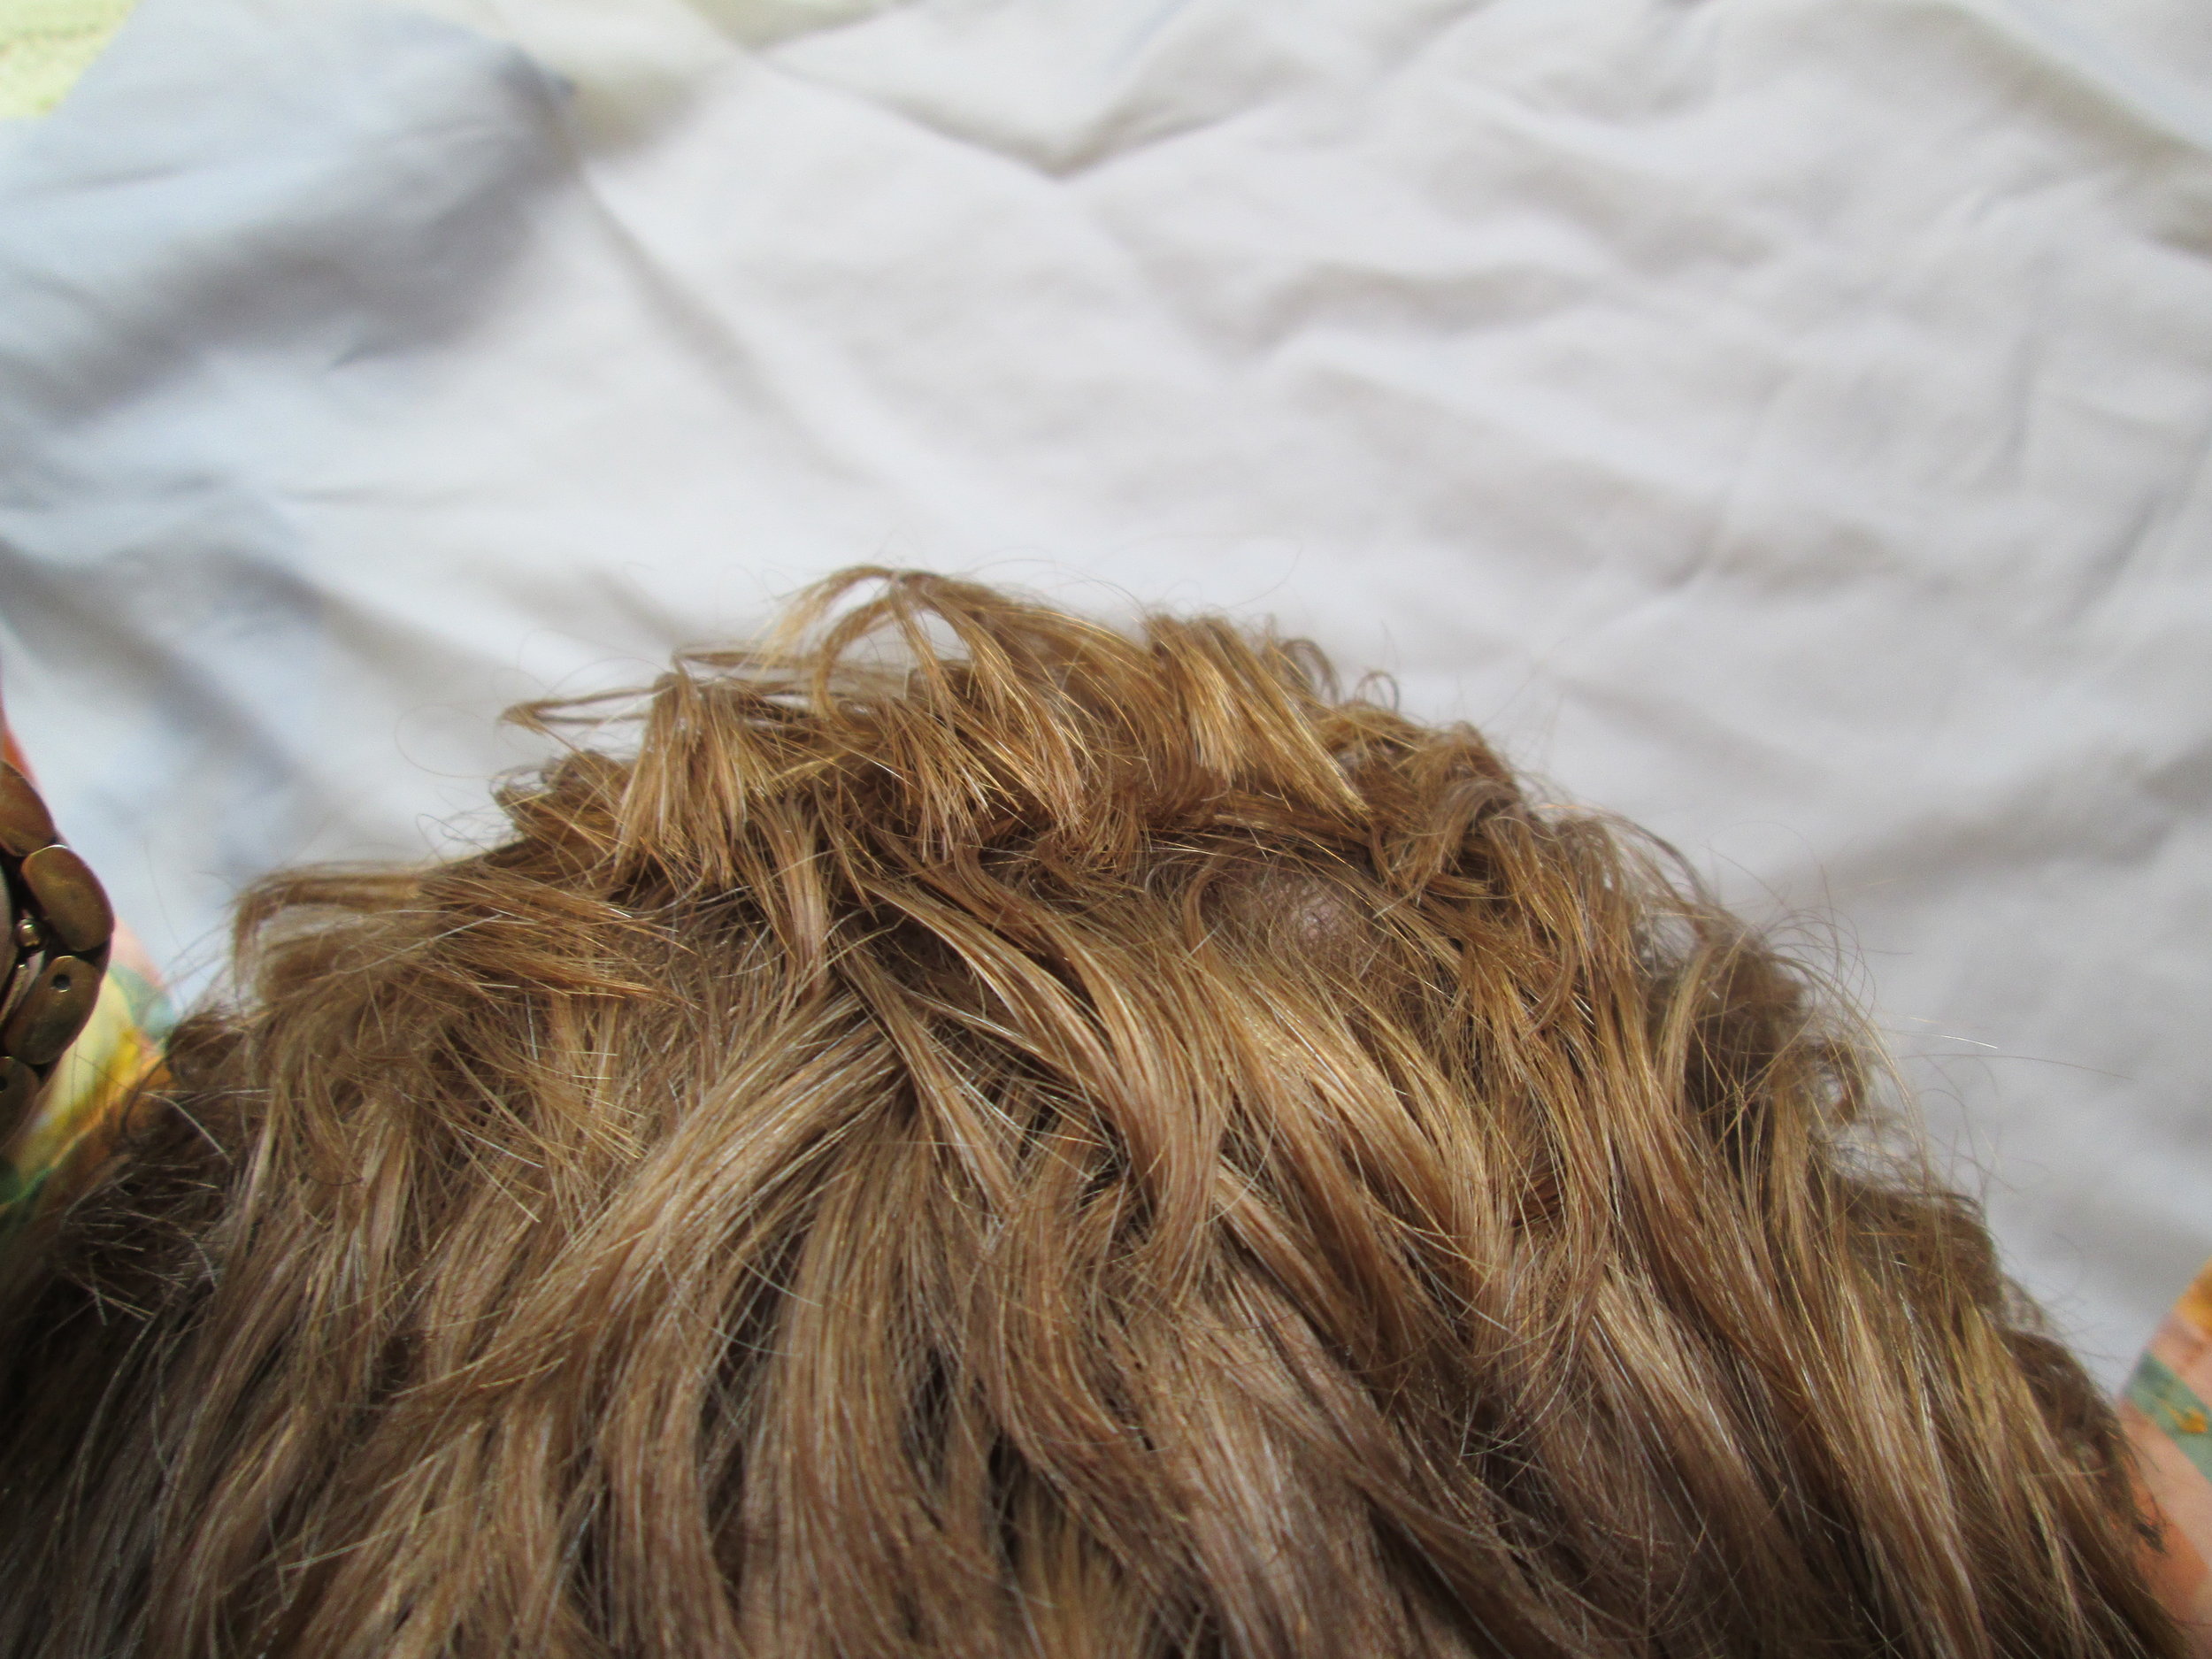
Using a hand mirror, I check the back of my head for part lines, and lighter areas that appear to need it in the back. I don’t worry about doing all of it. A few gray highlights blended in, soften the color and add dimension.
Next, I make several parts along the top, searching for areas that I may have missed the last time I colored. I do the same thing with vertical parts near my ears and temple and move toward the back of my head. I work quickly, use the squirt tip, and massage gently with my fingers, trying not to spread the color beyond the gray areas.
As I do this, some of the hair color I’m using spills over. This is nothing to worry about. It helps make the different colors I use each time blend in and appear to be very natural highlights.
At this point, I’m usually out of hair color! So I stop! This whole process takes me 10 minutes. I leave it on for 25 minutes. Then, wash and go.
This is economical hair color – both in terms of time and money. The maintenance is simple and the look is “easy on the eyes.” My husband’s hair gets the same treatment – every six days. Because his hair is so short, and frequently cut, we don’t have to worry about the hair looking dry and damaged. We leave the hair color in his hair for less time, 15-20 minutes, unless he has just had a fresh haircut. His hair shafts also pick up red-tones that are very distracting, so we have settled on one shade that minimizes that effect on him.
And, here we are, freshly colored!